


A custom armored entrance should be planned long before the door is delivered to site.
When architects, builders and entrance specialists coordinate early, the result is a door that feels integral to the architecture: properly proportioned, technically coordinated, securely installed and visually aligned with the project. When decisions are left until the end of construction, even a high-quality door can become difficult to integrate.
This custom armored door checklist helps project teams coordinate the essential decisions before fabrication and installation begin.
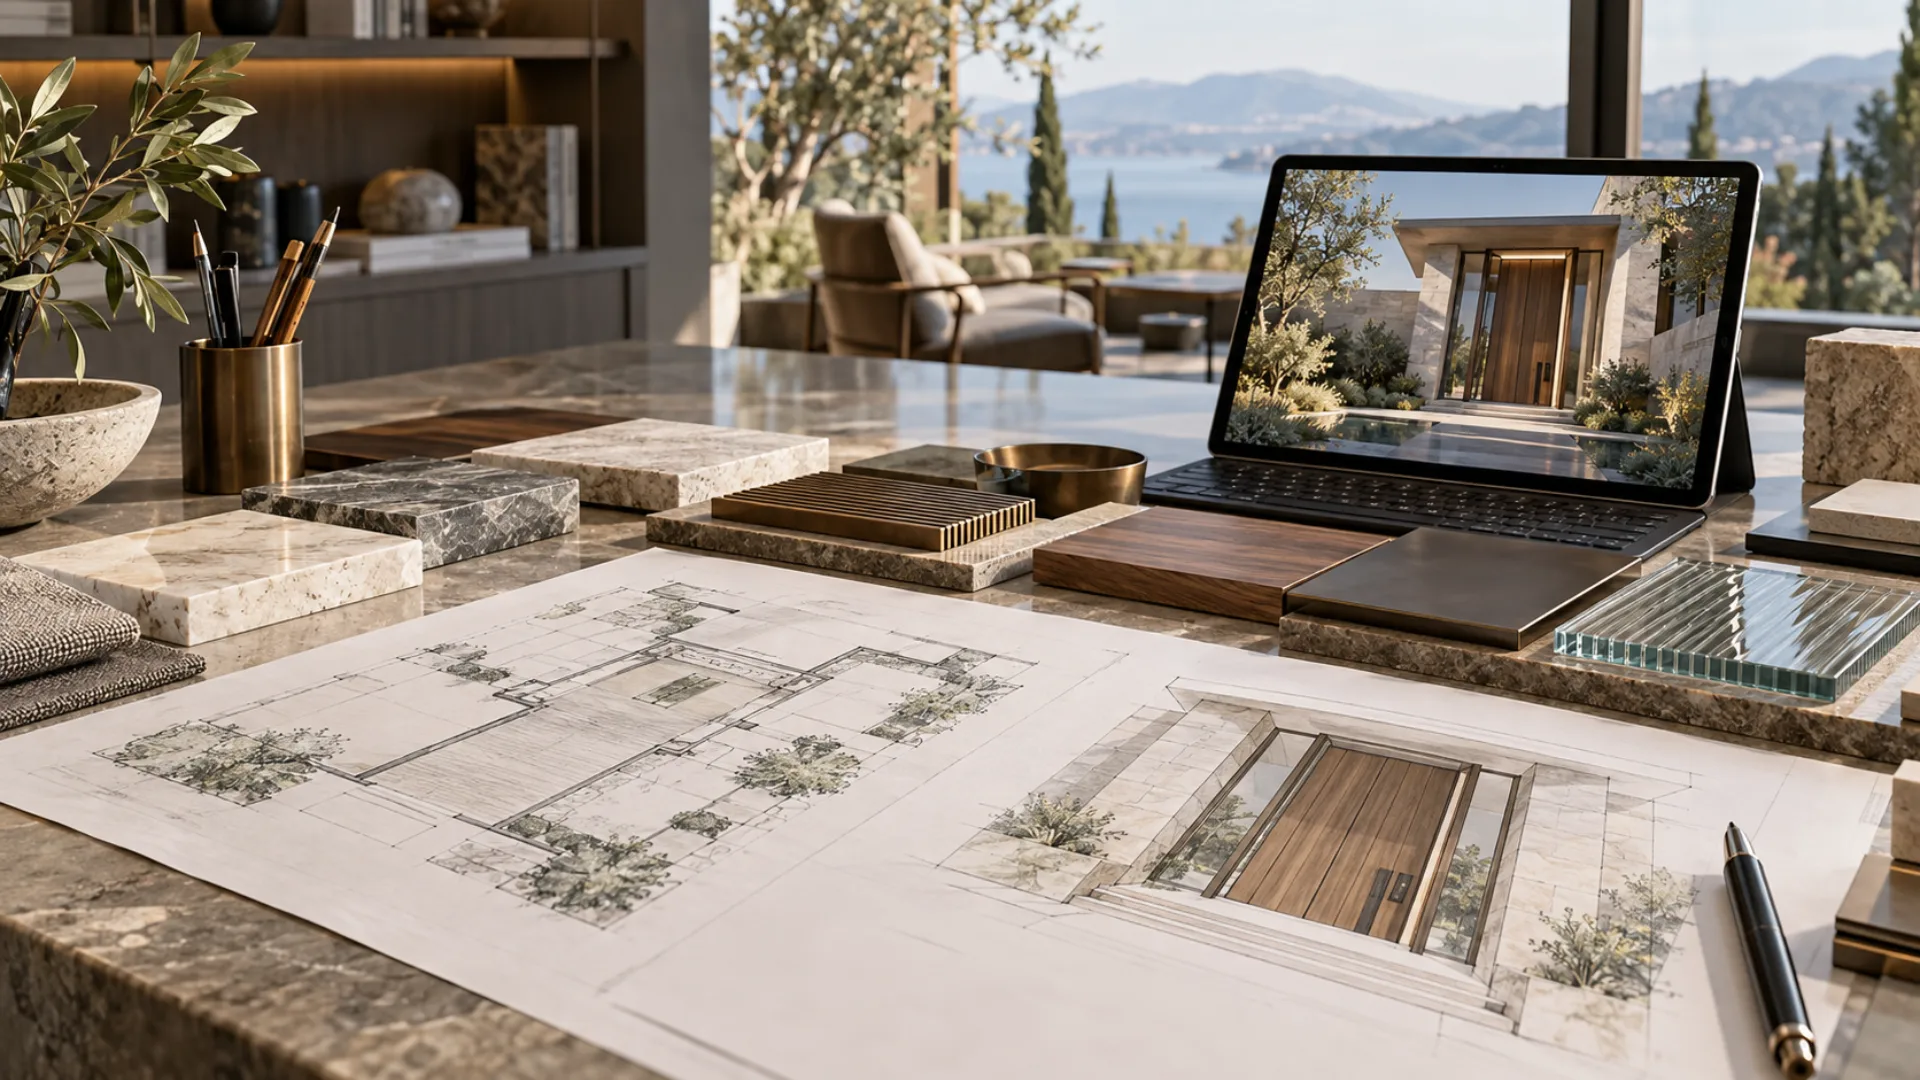
1. Define the Project Brief Before Selecting a Door
The first step is to define what the entrance needs to achieve.
A custom armored door may need to address architecture, privacy, security, weather exposure, acoustic comfort, energy performance and daily circulation at the same time. The team should establish these priorities before selecting a system or approving a finish.
Confirm the following:
- Project type: private residence, estate, condominium, commercial property or specialized space
- Architectural style and façade materials
- Location, climate and level of weather exposure
- Entrance visibility from the street or surrounding properties
- Desired level of privacy and security
- Door use: primary daily entrance, formal entrance, secondary access or safe-room entry
- Required performance beyond forced-entry resistance, such as thermal, acoustic, fire, weather or ballistic requirements
- Local building-code and permitting considerations
Security should be discussed as part of the project brief—not added after the façade has been designed.
For a clear overview of resistance-class planning, see RC Security Levels: How to Plan RC3, RC4 and RC5 Protection for a Luxury Entrance after that article is published.
2. Select the Opening System Early
The opening system affects structure, clearance, threshold details, hardware, electrical coordination and the full composition of the façade.
Pivot doors
Pivot doors are often selected for oversized, modern entrances. Their scale and movement can make the entrance feel sculptural, but they require early coordination around the pivot mechanism, floor construction, ceiling conditions and final door weight.
Explore the Minerva armored pivot door.
Hinged doors
Hinged doors can suit both classic and contemporary projects. They are often a practical choice for renovations, formal entrances, side-light compositions and projects where a familiar opening motion is preferred.
Explore the Minerva armored hinged door.
Sliding or translating doors
Sliding and translating systems can be valuable where swing clearance is limited or where the architectural concept calls for a different relationship between the door and the wall.
Explore the Minerva sliding security door.
The selected system should be based on architecture and use—not only appearance.
3. Confirm the Structural Opening
The opening should not be finalized until the entrance system has been reviewed with the supplier and project team.
Before construction begins, coordinate:
- Finished opening width and height
- Wall thickness and material build-up
- Floor level, finished-floor materials and threshold condition
- Head condition above the opening
- Structural support around oversized or heavy systems
- Drainage and exterior grading where relevant
- Interior and exterior reveal dimensions
- Tolerance requirements for installation
- Access route for delivery and handling on site
For large pivot doors, the structural and floor conditions are particularly important. A dramatic entrance depends on precise conditions behind the finished surface.
Avoid designing the opening solely from a visual elevation. Confirm it through coordinated drawings, sections and written technical information.
4. Coordinate the Door With the Full Façade
A custom entrance is part of a larger architectural composition.
The door should be reviewed alongside:
- Stone, brick, metal, wood or porcelain cladding
- Window and glazing proportions
- Door surrounds and recessed reveals
- Canopies, soffits and overhangs
- Exterior lighting
- Landscaping and approach paths
- Interior flooring and wall finishes
- Handle scale and placement
The design team should review physical samples in the project’s actual lighting conditions whenever possible. A material that looks balanced in a showroom may feel very different against the exterior stone or under warm evening lighting.
For door coverings and finish directions, explore Minerva materials for entrances.
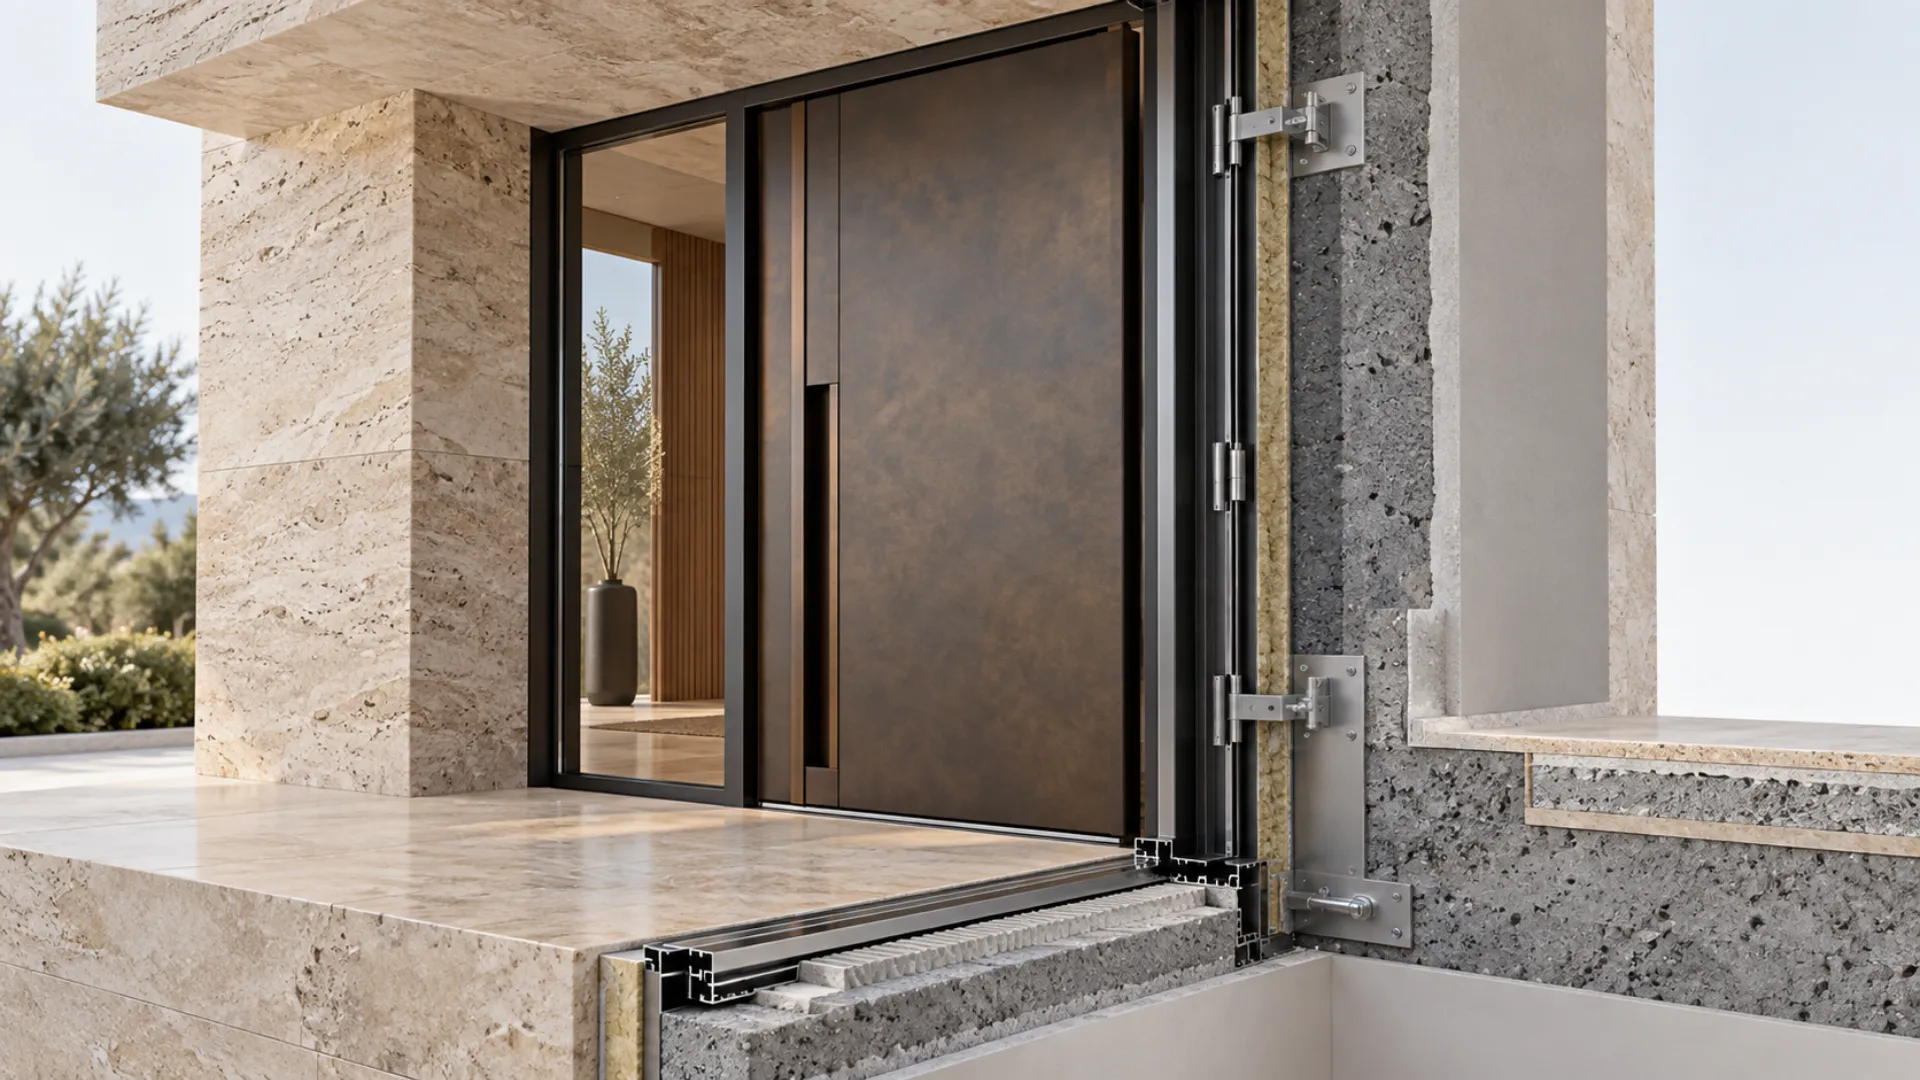
5. Specify Security as a Complete System
A secure entrance is more than a reinforced door leaf.
The final performance can depend on the complete specified system, including:
- Door construction
- Frame
- Locking hardware
- Hinges or pivot mechanism
- Glazing, sidelights and transoms
- Wall connection
- Access-control components
- Installation method
When reviewing a security specification, ask whether the proposed performance applies to the exact selected configuration. Changes to dimensions, glazing, hardware, finish or installation conditions should be reviewed before final approval.
Minerva’s security solutions provide a useful starting point for the discussion.
6. Coordinate Glazing and Adjacent Openings
A door may be visually central, but the surrounding glazing can be equally important to the overall entrance strategy.
Review:
- Sidelights and transoms
- Adjacent fixed glass panels
- Nearby operable windows
- Frame profiles and sightlines
- Privacy requirements
- Glass performance requirements
- Interface between door and glazing systems
The objective is to retain light and architectural openness without creating a disconnected approach to security.
A coordinated entrance should look intentional from every angle—not like a secure door inserted into a standard glazed wall.
7. Finalize Finishes Before Fabrication
Custom finish decisions should be made before fabrication begins.
This includes:
- Exterior and interior cladding materials
- Wood tone, stone selection, metal finish or porcelain surface
- Handle style and finish
- Frame colour and visibility
- Threshold finish
- Internal versus external material transitions
- Alignment with adjacent wall panels or millwork
For natural materials, allow for variation. Stone, wood and metal will not always look identical to a small sample, and that variation is often part of their character.
The project team should approve samples, finish boards and relevant shop drawings before production.
8. Plan Access Control and Electrical Requirements
Access control should be coordinated early with the door design, electrical consultant and security integrator.
Discuss:
- Preferred entry method: key, keypad, card, mobile credential or biometric system
- Interior and exterior reader locations
- Power and low-voltage requirements
- Conduit routes
- Backup access procedures
- Interface with home automation or security systems
- Privacy and user-experience requirements
- Responsibility for commissioning and final testing
Do not treat access control as a last-minute addition. Late electrical changes can affect the appearance, functionality and security of the final entrance.
9. Build a Realistic Project Schedule
A custom armored door is not a standard off-the-shelf item. The team should allow time for design coordination, finish approvals, fabrication, delivery, site readiness and installation.
Before placing an order, confirm:
- Final design-approval deadline
- Shop-drawing review process
- Required samples and finish approvals
- Structural-opening completion date
- Delivery access and storage conditions
- Installation sequence
- Coordination with glazing, stone, flooring and electrical trades
- Site protection after installation
- Final commissioning and handover date
The entrance should be scheduled as a coordinated architectural package, not treated as the final item on a construction punch list.
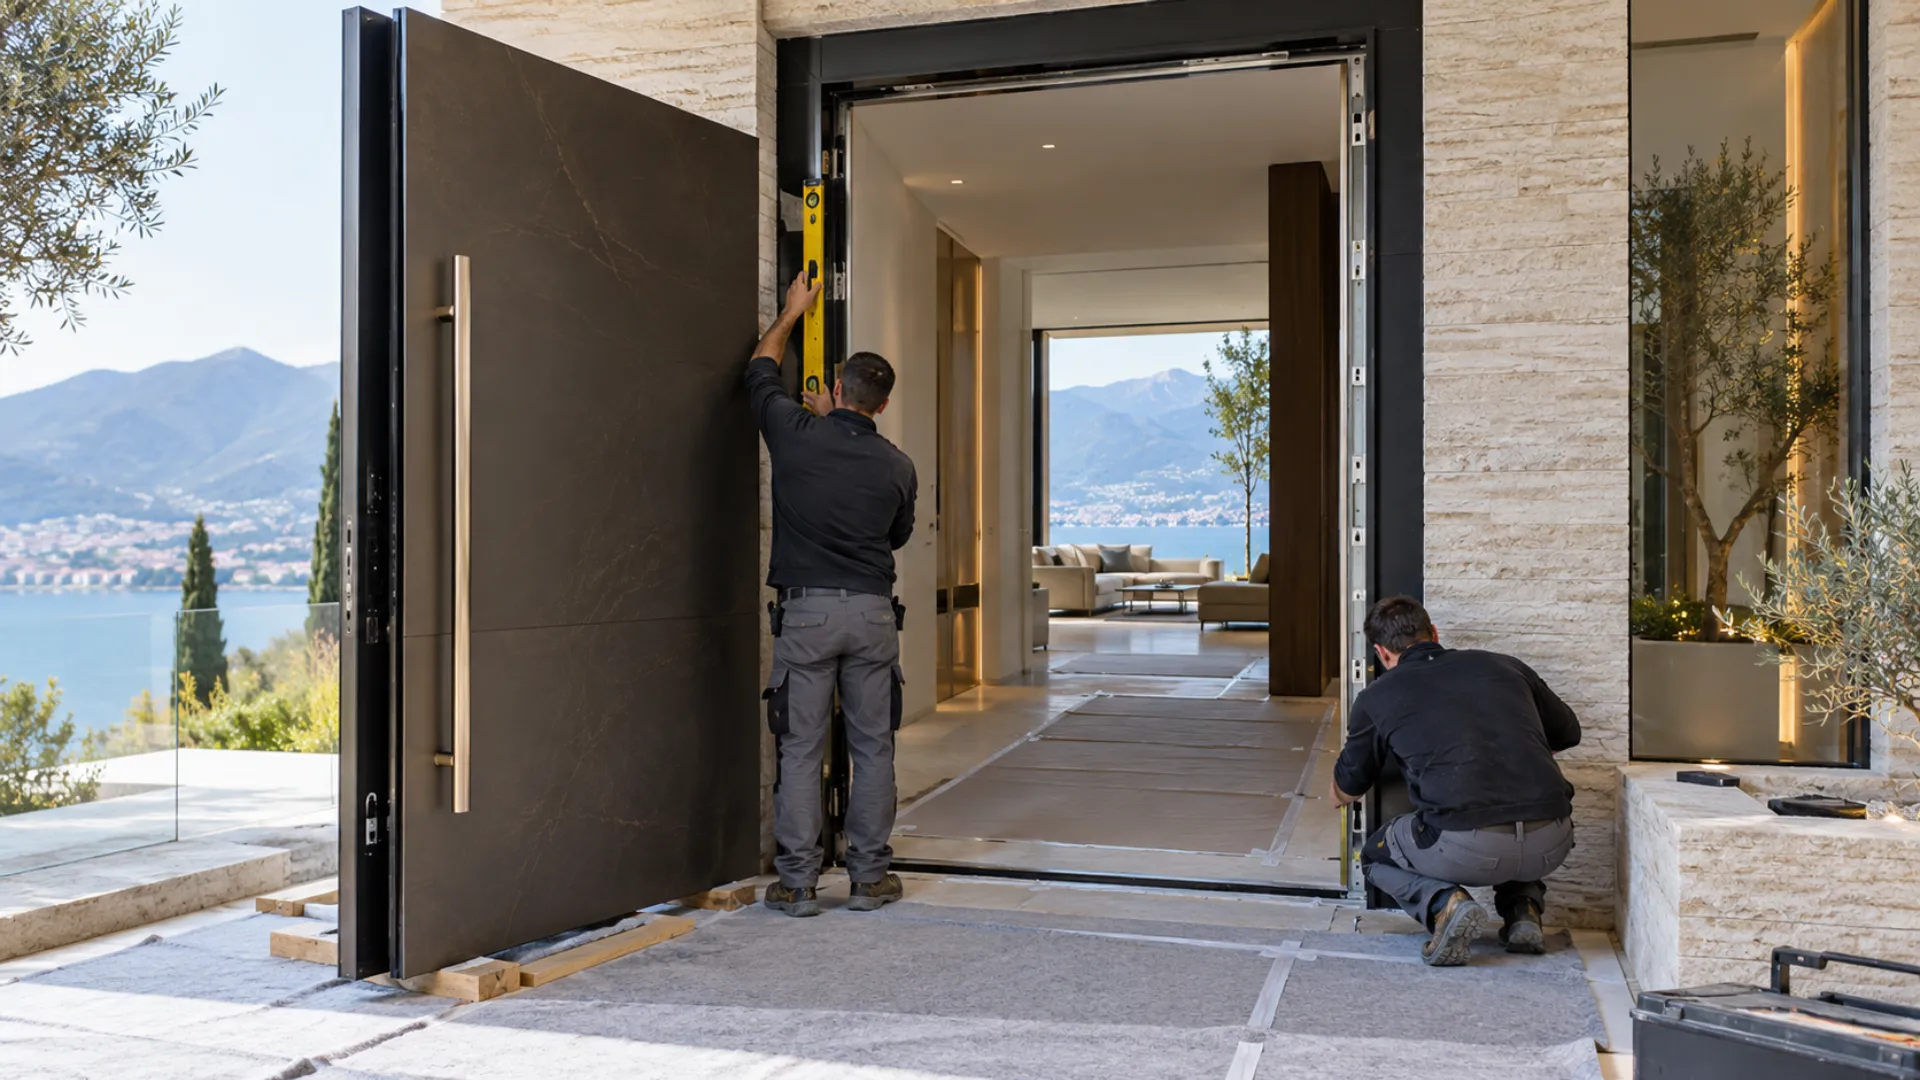
10. Prepare the Site Before Installation
A successful installation starts with a prepared site.
Before the installation team arrives, confirm that:
- The opening is complete and measured
- Finished-floor levels are confirmed
- Required structural conditions are ready
- Access is clear for delivery and handling
- Adjacent wall, stone and glazing work are coordinated
- Electrical and low-voltage rough-ins are complete where required
- The work area is dry, secure and protected
- Responsibility for post-installation protection is assigned
Do not install a custom entrance into an unfinished, wet or unprotected area unless the installation team has confirmed that conditions are appropriate.
11. Complete the Handover Properly
The project is not complete when the door is installed.
The handover should include:
- Operation demonstration for the owner or property manager
- Locking and access-control instructions
- Maintenance recommendations for finishes and hardware
- Warranty information
- Relevant product and performance documentation
- Record of final configuration
- Contact information for future service
A well-managed handover protects the investment and helps the owner use the entrance confidently from day one.
Pre-Construction Checklist
Before releasing a custom armored door for fabrication, confirm that the project team has approved:
- Door opening system
- Final width, height and wall build-up
- Structural and floor conditions
- Door, frame and glazing coordination
- Security and performance requirements
- Exterior and interior finishes
- Handle, threshold and reveal details
- Access-control and electrical requirements
- Shop drawings and physical samples
- Delivery, installation and site-protection plan
- Handover documentation requirements
Start the Entrance Conversation Early
The best custom entrances are not selected from a catalogue at the end of construction. They are developed through early coordination between the architect, builder, owner and entrance specialist.
When the system, structure, materials, glazing and installation are planned together, the entrance can deliver both confidence and architectural clarity.
Contact Minerva to discuss a custom armored entrance for your next project.
Frequently Asked Questions
When should an architect involve an armored door supplier?
Ideally, involve the supplier during schematic design or before the structural opening is finalized. This creates more flexibility around dimensions, structure, glazing, finishes and access control.
Can a custom armored door be specified after the opening is built?
It may be possible, but late selection can limit design options and create avoidable changes to structure, thresholds, finishes or installation conditions.
Does the door frame need to be coordinated separately?
Yes. The frame, wall connection and installation method are important parts of the complete entrance system.
Can access control be added after installation?
Some options may be possible, but access control should be planned early so power, conduit routes, hardware and user experience are properly coordinated.
What should be included in final handover documentation?
The project should include operating instructions, maintenance guidance, warranty information, final product documentation and details of the installed configuration.
